How to Dermaplane at Home for Gorgeous Results
Share
Smooth, glowing skin—made simple.
Dermaplaning is one of the easiest ways to refresh your skin, boost your glow, and get that smooth, glassy finish—all without a trip to the salon.
Whether you’re brand new or just want to level up your technique, here’s a simple step-by-step guide to dermaplaning at home (with results you’ll actually see).
⸻
What is dermaplaning?
Dermaplaning is a form of manual exfoliation that uses a sterile blade to remove dead skin cells and peach fuzz from the surface of your face. The result? Instantly smoother, brighter skin and better product absorption.
⸻
How to dermaplane at home
🧼 Step 1: Start with a clean canvas
Wash your face thoroughly and make sure your skin is dry. Avoid using oils or moisturizers beforehand—they can cause the blade to slip.
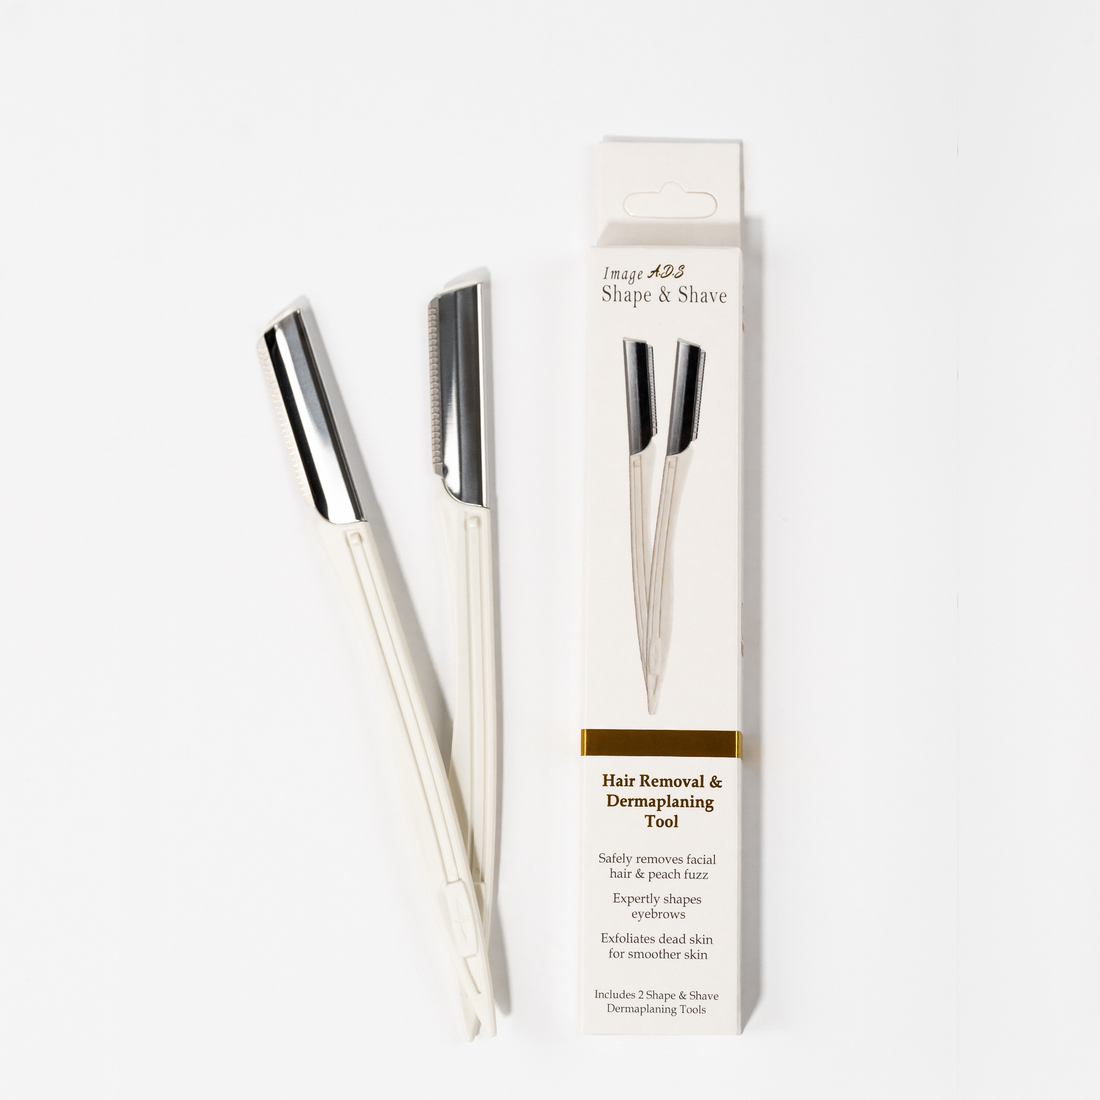
🪒 Step 2: Use a fresh, clean blade
Always dermaplane with a sharp, sanitized blade. A dull one can tug or scratch your skin.
↘️ Step 3: Hold your skin taut and go in with short, gentle strokes
Hold the blade at a 45° angle and use light, downward strokes. Focus on cheeks, forehead, upper lip, and jawline. Avoid active breakouts or sensitive spots.
💧 Step 4: Soothe and hydrate
After dermaplaning, your skin is extra absorbent—this is the time to apply calming, hydrating products. Think: hyaluronic acid, aloe vera, and a barrier-supporting moisturizer.
☀️ Step 5: SPF is a must
You’ve just exfoliated your skin, so protecting it from UV damage is essential. Finish with a broad-spectrum SPF 30 or higher.
⸻
How often should you dermaplane?
Once a week or every other week is plenty. Let your skin breathe between sessions and always listen to how it reacts.
⸻
Final thoughts
With the right technique, dermaplaning is a quick, no-fuss way to boost your glow.
It’s beginner-friendly, satisfying, and seriously effective.
Ready to try it yourself? Grab your tool, follow these steps, and get glowing.